Showing posts with label tutorial. Show all posts

Friday, March 2, 2012

Easy Peasy Little Skirt

Easy Peasy Little Skirt
I just finished making this very cute Little Skirt from vintage sheets.  Here is how to make one for your favorite little girl.

Fabric:
4 Fat quarters, 2 each of 2 different fabrics
1/2" Elastic (waist measurement plus 1 1/2")

These are the 2 fat quarters I chose.

Next, cut your fabric:  Decide which 2 fat quarters will be the underskirt and don't cut them (these pieces are 18 x 22").  Take one of the other fat quarters and cut it in half lengthwise, giving you two 9 x 22" pieces.  This will be the overskirt.  Note:  Make sure that your fat quarters are all an accurate 22" in length.  Trust me, you will be glad you did later on!  Cut the remaining fat quarter that matches the over skirt next.  This will make the cut waist/hip band.  Cut this piece into two 6" x 22" pieces.

 
Sew the sides of the underskirt, using a 1/2" seam allowance.

Sew up the sides of the overskirt, also using a 1/2" seam allowance.  Actually, ALL seam allowances are 1/2". 

Press all your seams.  You can press them open or you can do like I did and use a serger to finish the seams.  If you do that, then you should just press the seams to one side. 
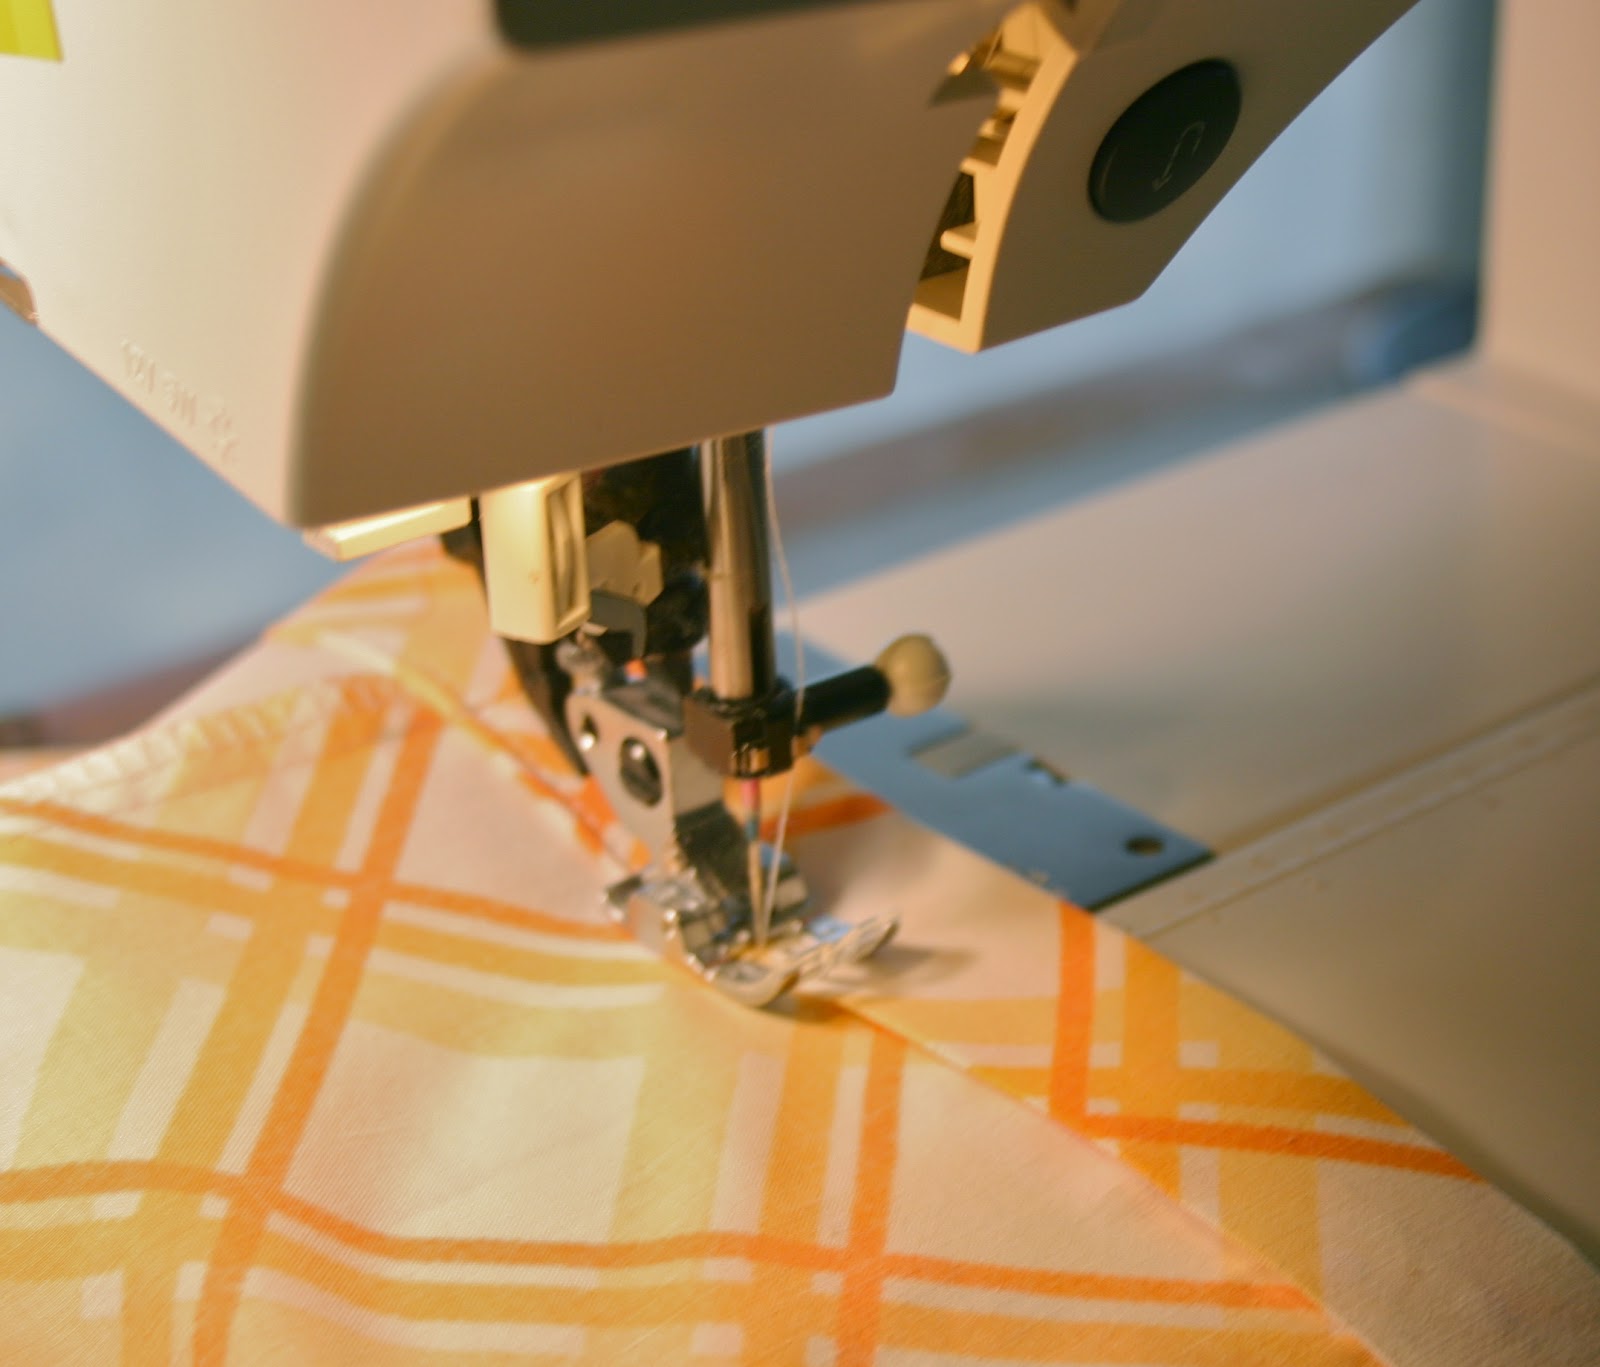
Make the hem of the overskirt by first folding up and pressing 1/2" and then folding up again and this time pressing 1".   Sew the hem in place. 

Sew up one side of the 6 x 22" waistband pieces.  Measure your little girl's hips and add 3 1/2".  Divide that number by 2.  (Example:  20" hip measurement + 3 1/2" = 23 1/2" ÷ 2 = 11 3/4".  I would just round that up to 12" to make it easier on yourself.   NOTE the picture.  Do your measurement starting at the seamline.  Then cut to length.
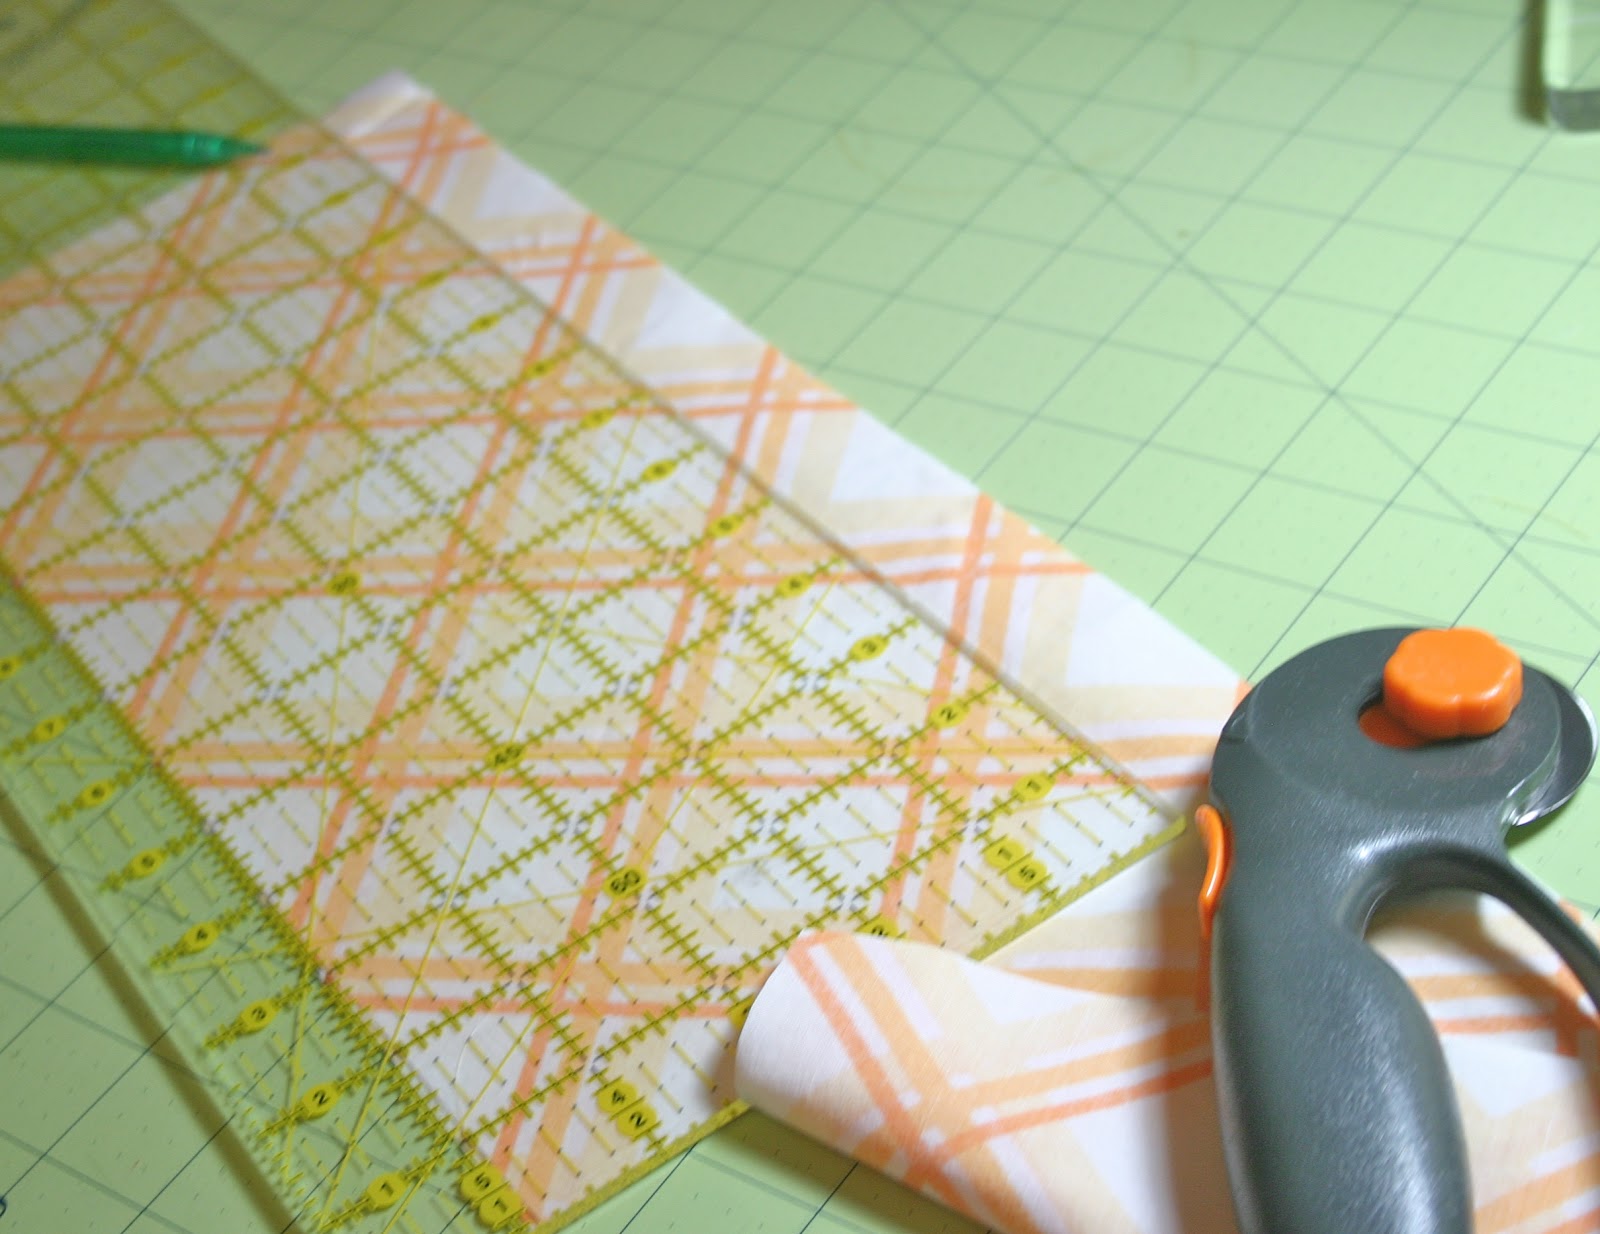
See, here I am starting my cut.  Then sew up the other seam to make a tube, and press the seams open. 

Fold the tube in half lengthwise, wrong sides together.

Pin the overskirt and underskirt together with wrong side of the overskirt and the right side of the underskirt together and pin.  Sew these together using the longest stitch length that you have.  Then sew another row of long stitches about 1/4" above the original stitches.  This is your gathering stitch. 

Then what you do is find the center front and center back of both your skirt and your waistband.  The easiest way to do this is to match the side seams together face to face.  Then stretch out the skirt and mark the front and back center with pins.  This will divide the skirt into quarters.  Then do the same thing with the waistband.   Right sides together, match the pins/side seams of the ungathered skirt to the pins and side seams of the waistband.  Then start gathering.

After you have evenly gathered the quartered skirt, sew the waistband to the skirt.

Press the seam upward.

Topstitch along the bottom of the waistband and close to the top of the waistband.  After that, measure down far enough to make a casing for the elastic.  How far down you go depends on how wide your elastic is.  I used 1/2" elastic.

Inside the waistband, clip the threads on one of the side seams open so that you can thread the elastic through the case.  Sew the two ends of the elastic together and evenly gather the waistband on the elastic.

The last thing you will do is measure your little girl for the finished length of the skirt.  This is where you will cut and hem the skirt to size.   Hem in the same manner as the overskirt, and you're done!  Easy Peasy! 

I'd love to see the skirt you make.  Upload it to a Flickr Group I put up so we can show off what we make. 

Happy Sewing!  Mary Ellen

Thursday, September 8, 2011

Paper Plate Baskets

I was sipping my coffee and browsing the internet and came upon this great tutorial by Sarah Hearts for making baskets out of paper plates - the cheap, flimsy kind.  You know, the ones that leak all over and fold in half as soon as you put any food on them.  These baskets are easy peasy and quite addictive.  I thought they would be cute using the Japanese fabric sticky tape that I have in my new Etsy supply shop. 


Here are the baskets that I made - I used some vintage buttons for embellishments, but you could put anything on them, or you could leave them plain and just taped together.  


If you would like to learn to make these, the tutorial is by Sarah Hearts, and she has the tutorial here.   I would love to hear your ideas on different ways to use these cuties.  

Friday, May 14, 2010

Lotsa Boxes Tutorial - Again

With the summer craft fair season almost upon us, I thought I would share this post again. These make up fast and easy and are quite addictive!  They are a great extra give-away to include with jewelry sales.  I know my customers love them.


These cute little boxes are a good way to use up all those leftover greeting cards.  I have also picked up greeting cards at yard sales and thrift shops EXTREMELY cheap!  They are lots of fun to make and go together really fast.  I made a ton of them one evening and put them in a big basket in my craft fair booth and gave them away as an extra little gift to each of my customers.


Step 1:  Gather the following tools and supplies:
- Leftover Greeting card
- Quilting ruler
- Glue stick
- Rotary cutter
- Bone folder


Step 2:  Cut the greeting card in half at the fold with the rotary cutter for a nice straight cut.


Step 3:  Cut about a 1/16 inch sliver off one short end and one long end of the inside half.  That way the bottom of the box will fit nicely into the top.


Step 4:  Take the bone folder and score both cards 1 inch (2.5 cm) from every edge and then cut 1 inch (2.5), using the score lines as a guide, on the short ends only to the score lines (see the picture).  If you would like a deeper box, then make your score lines farther away from the edge.


Step 5:  Bend in all score lines on both cards.  Glue the short tabs on the ends inside the longer end tabs.


And now you're done!  You have just made a cute little gift or treasure box from a recycled greeting card.  Anyone have any ideas for what to do with all the leftover envelopes?

Thursday, October 1, 2009

Recycled Magazine Stickers

As an Etsy shopkeeper, I adore my customers and always like to send them a thank you gift with each purchase. This post is an idea I had for a thank you gift that is easy to make, uses cast-off magazines and is nice and light so as to not add weight and postage costs to decrease profits.


Here is what you need:
Xyron 1 1/2 inch sticker maker
1 1/2 inch circle punch (or any other shaped punch that you like).
Magazine to cut up.


I like to use pretty lifestyle magazines and garden magazines but you can use whatever magazine suits your personality and taste.


Then what you do is look at the different pages and use your punch to "audition" different textures, pictures and design elements. This is the reason I like to use the squeeze style punch - it makes it easy to see exactly what your sticker will look like. You can find potential sticker material in pictures of fabric or photos of jewelry or you can punch out different words or phrases. I've punched circles of just about everything. It's amazing how different one little element by itself will look.

Here are a bunch of circles that I punched out. Aren't the colors and textures so pretty?


Here are the stickers coming out of this nifty little machine.

I like to put a few stickers in a little cellophane envelope along with my business card - the crystal clear package looks so pretty. You could also make a little envelope from a piece of recycled paper.


Saturday, June 13, 2009

A New Blouse


I was at the thrift shop the other day and bought this VERY cute summer blouse - it fits me perfectly and has the best little details.  It also has a peplum, which I just LOVE.  Well, I started to wear it and something about it just didn't seem quite right.  I walked around the house in it for awhile, but there was just something about it that bugged me.  I finally figured it out: it was the collar.  It was just too big and floppy to suit me.  

Oh no!  Now what to do?  The blouse was so perfect otherwise! And, I paid $3.99 for it at the thrift shop, a premium price.  Well, it hit me - I could ditch the collar altogether, which I proceeded to do.  Now the blouse is absolutely just right.

         
Here is the blouse with the collar cut off. I used this vintage seam binding to finish off the cut edges.  I have to say, it does pay to be a packrat!

Isn't this the most beautiful ribbon?  It's really easy to use.  Just remember it has no stretch at all, so you will have to ease it a little bit around the corners.

The next thing I did was add the binding starting from the right bottom front, all the way around and ending at the left bottom front.   I sewed the binding on the INSIDE of the blouse.  

Then I pressed the binding towards the edge of the fabric.  After that I wrapped it around to the front and sewed it down.  If you have trouble with the buttons making your lines wavy, try using a zipper foot for the button edge.  

Here's the same blouse without the collar.  Much more to my liking!

Here's a close-up detail where you can see the bound edges.  Now I can't wait to wear my new blouse!


Thursday, April 30, 2009

Secrets of Savvy Etsy Sellers


If you are an Etsy shopkeeper and want to improve your shop, then you should check out this fun blog called On The Dot Creations.  The blog author, Julie, has written some great tutorials on sprucing up your shop and has just published a free eBook entitled Secrets of Savvy Etsy Sellers. Make sure and check it out and download your own copy! - and look for yours truly, as I contributed hint #36 on page 19.  


Friday, March 13, 2009

Little Bitty Boxes Tutorial

These cute little boxes are a good way to use up all those leftover greeting cards.  I have also picked up greeting cards at yard sales and thrift shops EXTREMELY cheap!  They are lots of fun to make and go together really fast.  I made a ton of them on evening and put them in a big basket in my craft fair boot and gave them away as an extra little gift to each of my customers.


Step 1:  Gather the following tools and supplies:
- Leftover Greeting card
- Quilting ruler
- Glue stick
- Rotary cutter
- Bone folder


Step 2:  Cut the greeting card in half at the fold with the rotary cutter for a nice straight cut.
Step 3:  Cut about a 1/16 inch sliver off one short end and one long end of the inside half.  That way the bottom of the box will fit nicely into the top.
Step 4:  Take the bone folder and score both cards 1 inch (2.5 cm) from every edge and then cut 1 inch (2.5), using the score lines as a guide, on the short ends only to the score lines (see the picture).

Step 5:  Bend in all score lines on both cards.  Glue the short tabs on the ends inside the longer end tabs.

And now you're done!  You have just made a cute little gift or treasure box from a recycled greeting card.  Now, what to do with all the leftover envelopes???