Showing posts with label thrifting. Show all posts

Friday, March 2, 2012

Easy Peasy Little Skirt

Easy Peasy Little Skirt
I just finished making this very cute Little Skirt from vintage sheets.  Here is how to make one for your favorite little girl.

Fabric:
4 Fat quarters, 2 each of 2 different fabrics
1/2" Elastic (waist measurement plus 1 1/2")

These are the 2 fat quarters I chose.

Next, cut your fabric:  Decide which 2 fat quarters will be the underskirt and don't cut them (these pieces are 18 x 22").  Take one of the other fat quarters and cut it in half lengthwise, giving you two 9 x 22" pieces.  This will be the overskirt.  Note:  Make sure that your fat quarters are all an accurate 22" in length.  Trust me, you will be glad you did later on!  Cut the remaining fat quarter that matches the over skirt next.  This will make the cut waist/hip band.  Cut this piece into two 6" x 22" pieces.

 
Sew the sides of the underskirt, using a 1/2" seam allowance.

Sew up the sides of the overskirt, also using a 1/2" seam allowance.  Actually, ALL seam allowances are 1/2". 

Press all your seams.  You can press them open or you can do like I did and use a serger to finish the seams.  If you do that, then you should just press the seams to one side. 
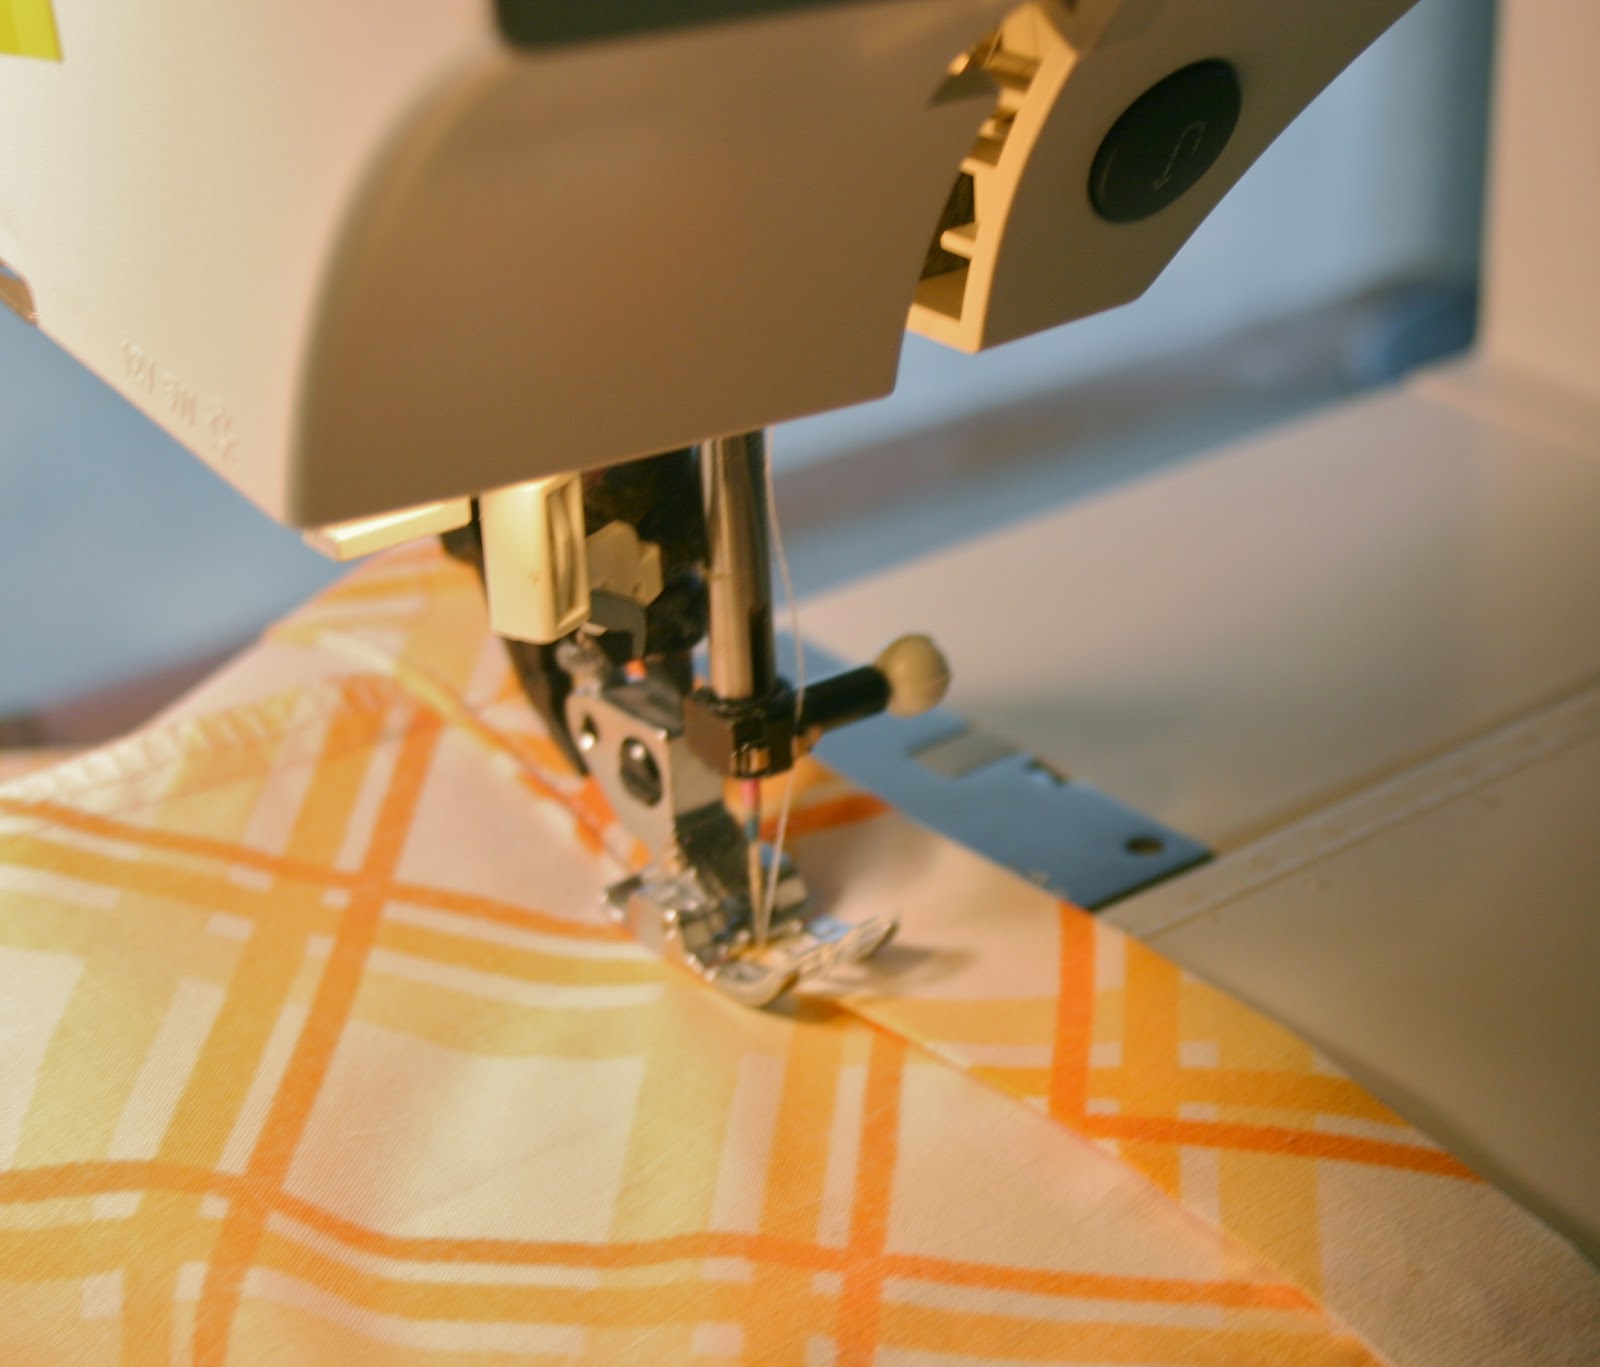
Make the hem of the overskirt by first folding up and pressing 1/2" and then folding up again and this time pressing 1".   Sew the hem in place. 

Sew up one side of the 6 x 22" waistband pieces.  Measure your little girl's hips and add 3 1/2".  Divide that number by 2.  (Example:  20" hip measurement + 3 1/2" = 23 1/2" ÷ 2 = 11 3/4".  I would just round that up to 12" to make it easier on yourself.   NOTE the picture.  Do your measurement starting at the seamline.  Then cut to length.
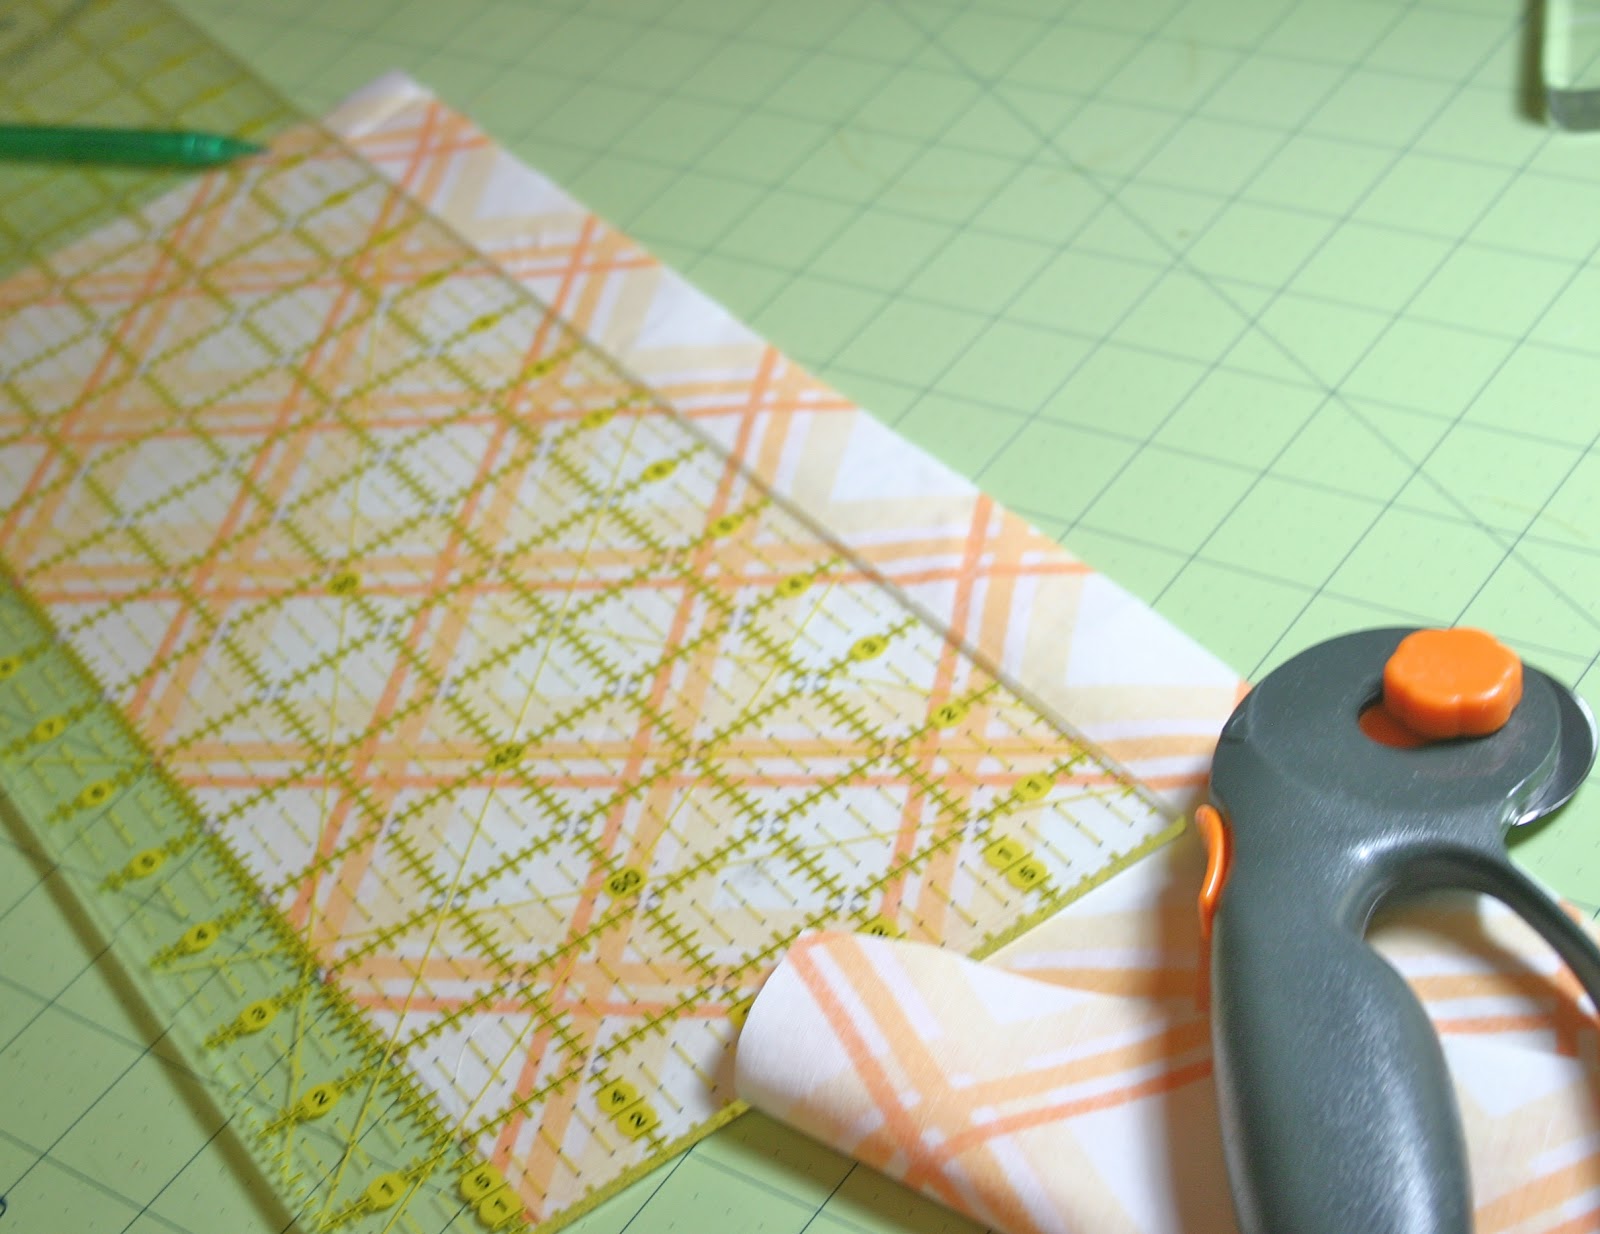
See, here I am starting my cut.  Then sew up the other seam to make a tube, and press the seams open. 

Fold the tube in half lengthwise, wrong sides together.

Pin the overskirt and underskirt together with wrong side of the overskirt and the right side of the underskirt together and pin.  Sew these together using the longest stitch length that you have.  Then sew another row of long stitches about 1/4" above the original stitches.  This is your gathering stitch. 

Then what you do is find the center front and center back of both your skirt and your waistband.  The easiest way to do this is to match the side seams together face to face.  Then stretch out the skirt and mark the front and back center with pins.  This will divide the skirt into quarters.  Then do the same thing with the waistband.   Right sides together, match the pins/side seams of the ungathered skirt to the pins and side seams of the waistband.  Then start gathering.

After you have evenly gathered the quartered skirt, sew the waistband to the skirt.

Press the seam upward.

Topstitch along the bottom of the waistband and close to the top of the waistband.  After that, measure down far enough to make a casing for the elastic.  How far down you go depends on how wide your elastic is.  I used 1/2" elastic.

Inside the waistband, clip the threads on one of the side seams open so that you can thread the elastic through the case.  Sew the two ends of the elastic together and evenly gather the waistband on the elastic.

The last thing you will do is measure your little girl for the finished length of the skirt.  This is where you will cut and hem the skirt to size.   Hem in the same manner as the overskirt, and you're done!  Easy Peasy! 

I'd love to see the skirt you make.  Upload it to a Flickr Group I put up so we can show off what we make. 

Happy Sewing!  Mary Ellen

Wednesday, May 25, 2011

Thrifted Garden Finds

My garden is in full bloom so I wanted to bring some flowers inside to enjoy. 


Don't you just love this tree trunk vase?  
I think it shows off the peonies quite well.

I love the white snowballs and the white of the 
vintage milk glass vase with the little bit of green leaves for contrast.

See the lovely scalloped edge?  
Just the right touch, don't you think?

Monday, January 17, 2011

Pioneer Quilt

A few days ago I posted about a wonderful working quilt I had acquired that was made by a Great Plains pioneer woman.  It was so shabby, torn and worn out, but you could still see the original beauty.  Because it was so worn out, I washed it and cut it up, salvaging only what was useable.  Here are some pictures of the quilt top salvaged pieces:


A true crazy quilt design
Look at all the beautiful textures and colors!
I see a piece of fabric that still has a dart left in it.
Some very, very tiny pieces.
She made use of everything!
Pieces of the quilt all piled up.
I'm sure this pioneer homemaker had
a nice scrap pile that she kept adding to
so that nothing would go to waste.

Sunday, January 9, 2011

Pioneer Spirit

I love living on the Western Kansas High Plains!  Living here is so inspiring.  The strength of character, resourcefullness and just plain moxie it took to come here and set up housekeeping back in the 1880s is just amazing!  Imagine being 16 or 18 years old, packing up all your belongings and heading for the Great Plains homestead with your new husband, knowing you might never see your family again.  Remember, these were the days before telephone and Facebook.


Awhile back I happened on a tattered pioneer quilt at a local yard sale.  It was being used in the back of a pickup truck to give the farm dog a soft place to lay on trips to town.  What a treasure!  It was a scrap quilt that had been lovingly pieced in the crazy quilt style out of tiny still-good remnants.  Quilts made by pioneer women were working quilts, and this particular quilt had paid its dues.


I purchased this quilt right out of the pickup truck for a dollar, took it home, washed it in my washing machine and dried it in my dryer - Can you imagine?!?  It came out beautiful, though still tattered, ready to keep working.  I want to be like that quilt - resourceful and giving, no matter my age or circumstance.  

A Sherman County, Kansas, young pioneer woman with her sod house in the background.  Can you imagine living and raising a family there?

Look how young she is!  Can't you just see the character 
and determination in her eyes?

Here is a piece of that quilt, 
recycled yet again for another generation to enjoy.

What inspires you? I'd love to hear it!

Tuesday, January 4, 2011

Studio Organizing Idea

Hello, my friends!  I just wanted to show you how I organized my t-shirt stash.  I used one of those wire cube shelf things that I got at Target.  I ended up wiring the pieces together - that way it won't come apart on me when I pull out a shirt.  Then I folded the t-shirts in half crosswise, put the sleeves inward and then rolled them up tightly.   I put the shelving on a garage sale coffee table in order to increase the storage.  I plan to put baskets of scraps underneath.  


The colors look so pretty, I hate to use them now.  But this way I can see everything without rummaging through boxes.  It's easy to pull one out without disturbing the others.  

Here is the room in my studio cottage that I have the t-shirts.
Isn't that little handmade built-in cabinet great?
Here are all the t-shirts - aren't they pretty?
The icky shag carpet has to go - that's the plan!
 
What creative idea have you come up with for organizing your stash and tools?  

Sunday, June 27, 2010

Dinner Plates

My Mom and I had a BIG garage sale last weekend.  It was so fun!  People paid US to haul away our cast off stuff - what a concept.  Our customers were happy because they found a bargain, and we were happy because we divested ourselves of clutter and earned some extra money.

+
One of our customers bought all the odd and end plates that we had at 25¢ each, including some of my Mom's Portmerion Botanical Garden odd sandwich plates (now THAT is a bargain!!!).  She explained that when she gives a plate of cookies, she can tell the recipient to keep the plate.  I LOVE that idea - What a wonderful way to bless a friend.

+
Now I'm all inspired to make some cookies to put on a beautiful thrifted give-away plate!

Here's a Portmerion Botanic Garden Plate.  Aren't they beautiful?

Sunday, June 20, 2010

Getting Started at Mary Zoom's Cottage

Well, today I started on the front bedroom of Mary Zoom's cottage.  This is where I will have my sewing room.  I am really excited to have a space all my own that is not in the basement. It is a nice big room with windows, and there are 12 foot ceilings!  The first thing I did was pull up the icky carpet, which will lead to the next step of sanding the wood floors to get rid of the stuck-on carpet pad.  It will be a lot of hard work but will be worth it!

Here is the floor without the carpet.  In the background you can see what it used to look like.  You should have seen me all covered in black dried-out carpet pad dust!

Here is a picture of the door and the closet.  The woodwork doesn't look too bad through the eye of the camera, but close up it's pretty rough.  I'm wondering if I should paint it white?  My favorite white is called "Atrium White" from Benjamin Moore.  It would definitely brighten the room.

Look at the beautiful hinges!

This is the north window.

This is the east window.  It looks out over the front porch.  I'm thinking of putting my sewing machine in front of this window.  That way I can watch the world go by while I'm sitting and sewing.  Also, it is the PERFECT window for african violets.  

Saturday, April 10, 2010

Mary Zoom's Cottage

Well, we did it - we bought the little house next door to our house.  We call it our "Southern Home" because it is next door just to the south.  Our Southern Home was built in 1910 and is the oldest home in our part of town. The house we live in was built in the 1930s, and there are many homes that were built as recently as the 1950s. It is quite an eclectic neighborhood.


We plan to dust our Southern Home off and restore her to her former turn-of-the century simple glory.  After that, I will move my Mary Zoom studio next door and once again this wonderful house will be filled with laughter and sunshine.


Here are some "before" pictures:

Here she is - our Southern Home.  Isn't she beautiful?

This is the original chicken coop in the back yard - Don't you think it will make a great garden shed?

This is a detail of the woodwork on the front door.

Here is the kitchen - I have lot's of ideas for this room!

The bathroom leaves a lot to be desired, doesn't it?

This is a view into the little bedroom.  Don't you love the original finish on the woodwork?
It's like that throughout the entire house.


Friday, January 1, 2010

Beautiful Ribbon

I'm a sucker for vintage seam binding, an absolute sucker. The colors are so yummy, and the texture is beautiful. Even the vintage labels are pretty!

Some packs of vintage seam binding from my stash.

So beautiful!

Wednesday, June 17, 2009

Packrats of the World Unite!


Yes, I admit it. I must come clean to clear my conscience. I am a *gasp* packrat, an accumulator of all things transformable. However, I like the synonym for packrat better: gatherer. Somehow that sounds more lofty.

I come from a long line of pack rats. As long as I can remember, my Mom has always had a huge stash of what she calls "raw materials." My Dad, too - only he called his
stuff "good stuff." Everything was fair game to become "raw materials" or "good stuff."

I have loved fabric ever since I was little. It just looked so pretty and felt so nice. My first introduction to recycling beautiful fabric was when I was in junior high school - okay, now I'm telling my age. In the 60's (the LATE 60s, thank you very much). Yep - before recycling was all the rage. My Dad had a GORGEOUS brown wool nubby tweed two-piece suit he didn't want to wear anymore. Well, I just couldn't let that great wool go to wool-tweed-suit heaven, so I cut it up and remade myself a pair of slacks to wear with my favorite dark brown sweater.

So, what is the moral of the story? Things made of fabric are not what they seem. A silk shirt is really a purse lining. A shrunk wool sweater is really a little bitty girl's coat. A linen dress is really a tote..... Get my drift? Now you don't have to feel guilty about saving a cast-off somethings anymore. They have now become "raw materials" that have been *gathered* so as to be ready to be transformed into whatever your mind can imagine. Have fun, my fellow packrat, and gather to your heart's content!


This used to be a T-shirt. Now it is a wrist cuff wallet for runners, walkers and bikers.


This was a wool sweater at one time. I shrunk it down with REALLY hot water and then cut it into circles. They looked kind of plain, so I needle felted the little garden design onto them.


This used to be a ladies cotton blouse - you know, the plain kind of long sleeved shirt. As a kids church teacher, when I needed art smocks to protect my little students' Sunday best frocks, I figured out that I could cut off the collars, whack off the cuffs and put the shirts on backwards. Voila! A kid's art smock. This is the perfected version.


Once upon a time this was a 100% cotton pillowcase. Now it is a sustainable market bag that holds LOTS of groceries - or garage sale finds - or maybe thrift shop treasures that we are *gathering.*


And this is my current favorite. Believe it or not, this used to be a wild and wacky tie-dyed T-shirt. Now it is yarn that is pretty to look at in its current form of a yarn cake. Hmm.... I may never even take it off my shelf, it is so yummy.