|
| Easy Peasy Little Skirt |
I just finished making this very cute Little Skirt from vintage sheets. Here is how to make one for your favorite little girl.
Fabric:
4 Fat quarters, 2 each of 2 different fabrics
1/2" Elastic (waist measurement plus 1 1/2")
These are the 2 fat quarters I chose.
Next, cut your fabric: Decide which 2 fat quarters will be the underskirt and don't cut them (these pieces are 18 x 22"). Take one of the other fat quarters and cut it in half lengthwise, giving you two 9 x 22" pieces. This will be the overskirt. Note: Make sure that your fat quarters are all an accurate 22" in length. Trust me, you will be glad you did later on! Cut the remaining fat quarter that matches the over skirt next. This will make the cut waist/hip band. Cut this piece into two 6" x 22" pieces.
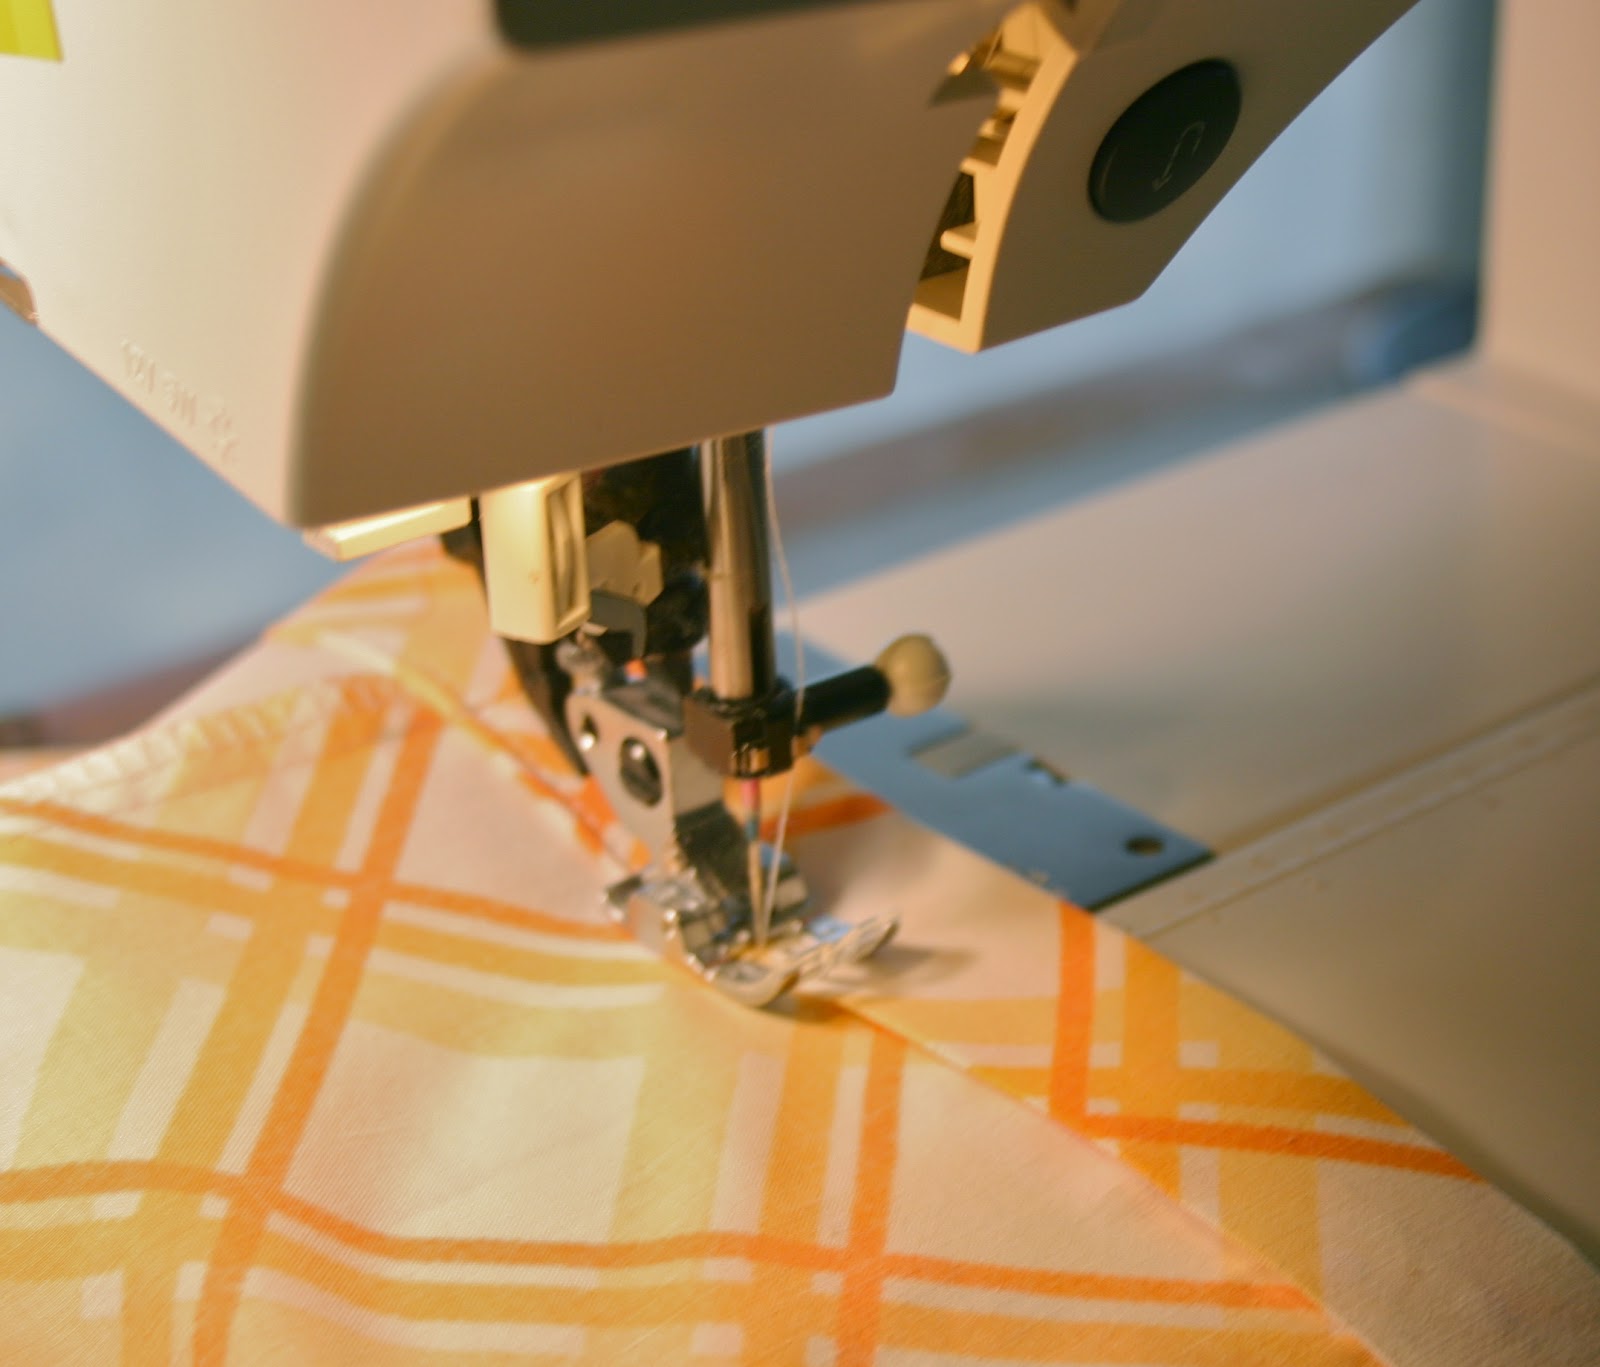
 Sew the sides of the underskirt, using a 1/2" seam allowance.
Sew up the sides of the overskirt, also using a 1/2" seam allowance. Actually, ALL seam allowances are 1/2".
Press all your seams. You can press them open or you can do like I did and use a serger to finish the seams. If you do that, then you should just press the seams to one side.
Make the hem of the overskirt by first folding up and pressing 1/2" and then folding up again and this time pressing 1". Sew the hem in place.
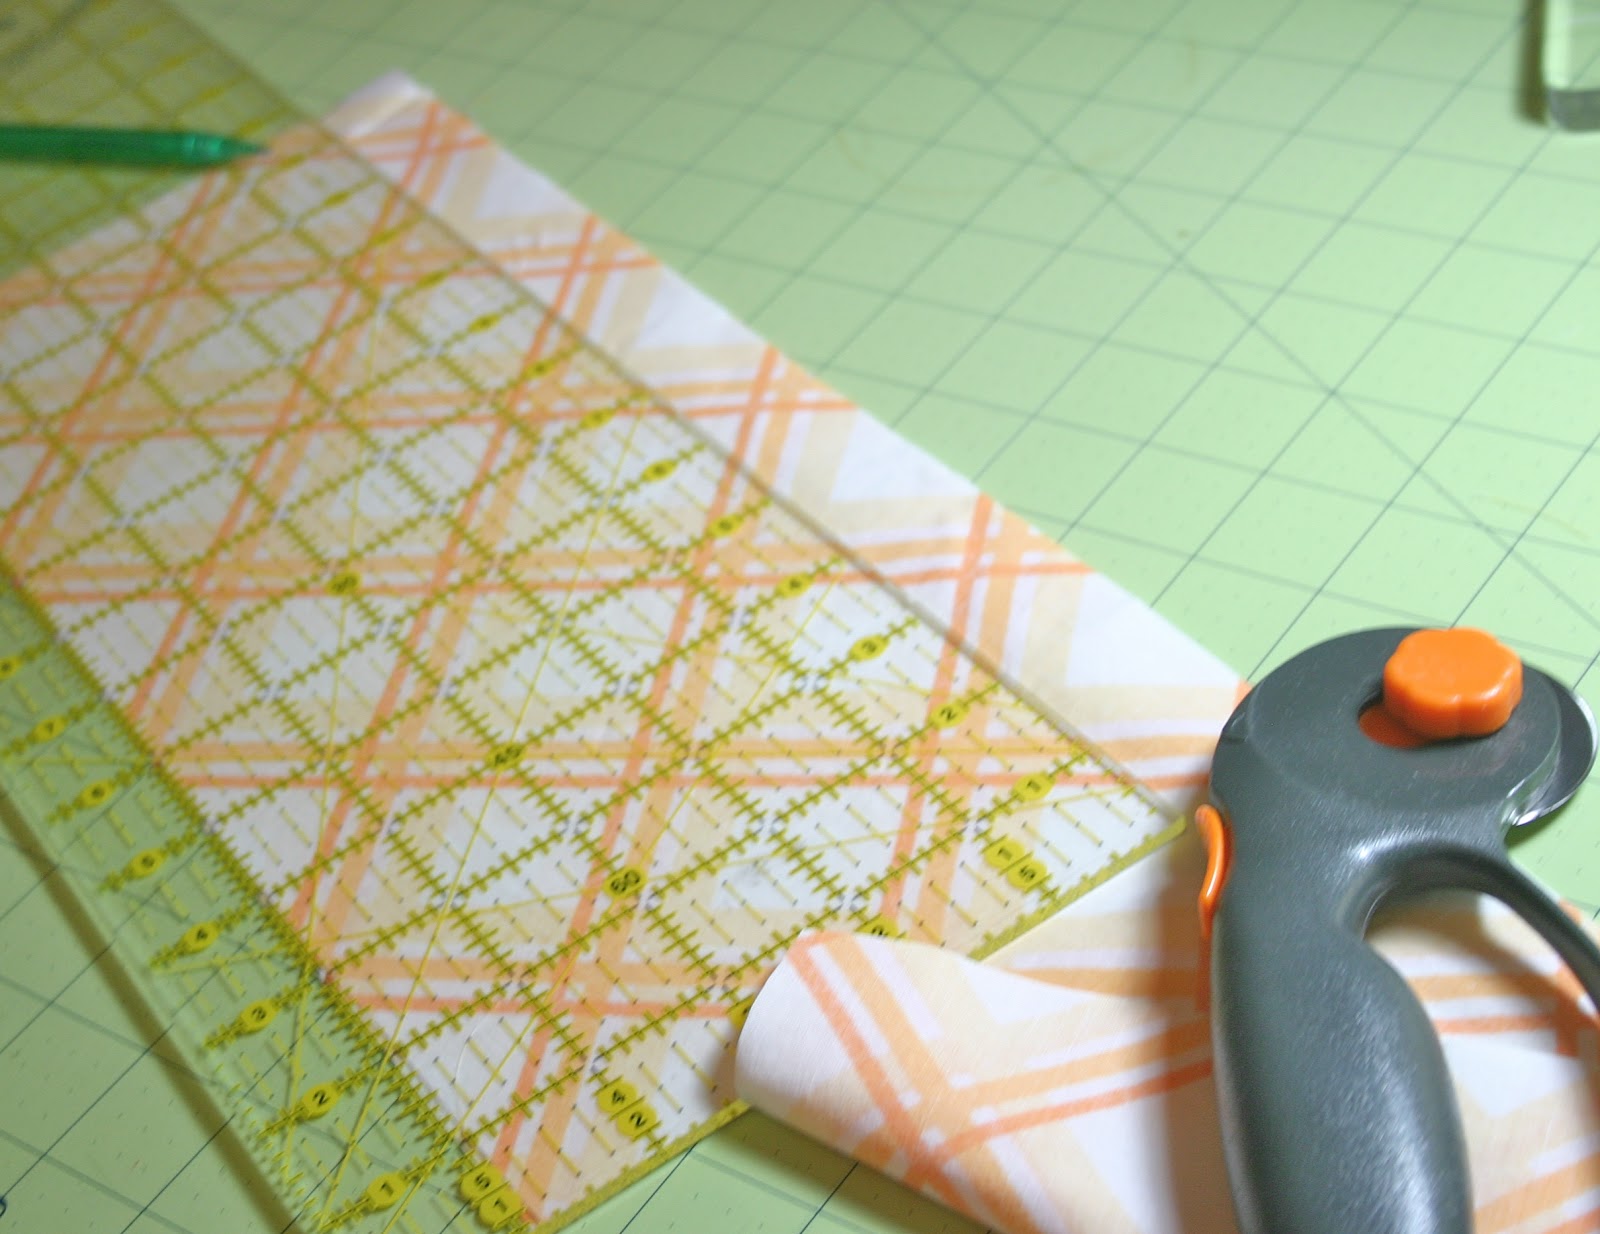
Sew up one side of the 6 x 22" waistband pieces. Measure your little girl's hips and add 3 1/2". Divide that number by 2. (Example: 20" hip measurement + 3 1/2" = 23 1/2" ÷ 2 = 11 3/4". I would just round that up to 12" to make it easier on yourself. NOTE the picture. Do your measurement starting at the seamline. Then cut to length.
See, here I am starting my cut. Then sew up the other seam to make a tube, and press the seams open.
Fold the tube in half lengthwise, wrong sides together.
Pin the overskirt and underskirt together with wrong side of the overskirt and the right side of the underskirt together and pin. Sew these together using the longest stitch length that you have. Then sew another row of long stitches about 1/4" above the original stitches. This is your gathering stitch.
Then what you do is find the center front and center back of both your skirt and your waistband. The easiest way to do this is to match the side seams together face to face. Then stretch out the skirt and mark the front and back center with pins. This will divide the skirt into quarters. Then do the same thing with the waistband. Right sides together, match the pins/side seams of the ungathered skirt to the pins and side seams of the waistband. Then start gathering.
After you have evenly gathered the quartered skirt, sew the waistband to the skirt.
Press the seam upward.
Topstitch along the bottom of the waistband and close to the top of the waistband. After that, measure down far enough to make a casing for the elastic. How far down you go depends on how wide your elastic is. I used 1/2" elastic.
Inside the waistband, clip the threads on one of the side seams open so that you can thread the elastic through the case. Sew the two ends of the elastic together and evenly gather the waistband on the elastic.
The last thing you will do is measure your little girl for the finished length of the skirt. This is where you will cut and hem the skirt to size. Hem in the same manner as the overskirt, and you're done! Easy Peasy!
I'd love to see the skirt you make. Upload it to a Flickr Group I put up so we can show off what we make.
Happy Sewing! Mary Ellen